Sitecore for Developers
Sitecore Campaign Set-up
Now that you know more about your users and their behavior, it’s time to analyze what brings users to your site in order to create marketing initiatives that result in more conversions.Sitecore Campaigns allow you to target the user once they arrive at the site. Campaigns, like the Google Analytics URL Builder, include a query string that ensures inbound links are tracked in Sitecore Analytics. However, Campaigns can take this tracking further—they can be used to trigger personalization. (More on this in a future post.)Once you have Campaigns set up, you can incorporate them into any inbound marketing activities. Analytics can track the activities that are triggering Goals and Profiles you’ve established. For example, you could see that email marketing is leading to more brochure downloads from the Retired Profile you established. Or you could track that Facebook is driving more newsletter signups for the Young segment.To configure a Sitecore Campaign, log into the Sitecore Experience Platform dashboard and open the Marketing control panel.Create the Campaign CategoryTo create the category, right click on the Campaign folder and Insert New Category (social categories are configured). Name it and save.
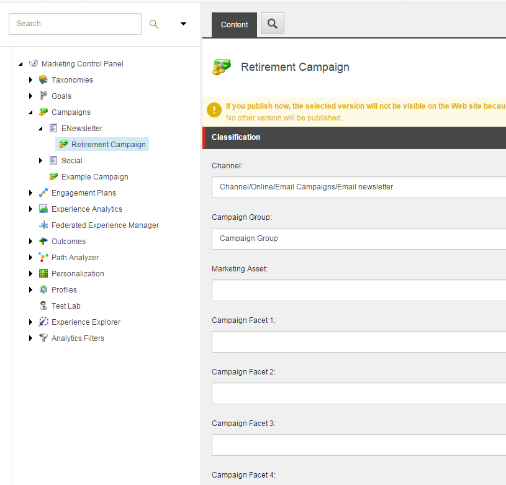
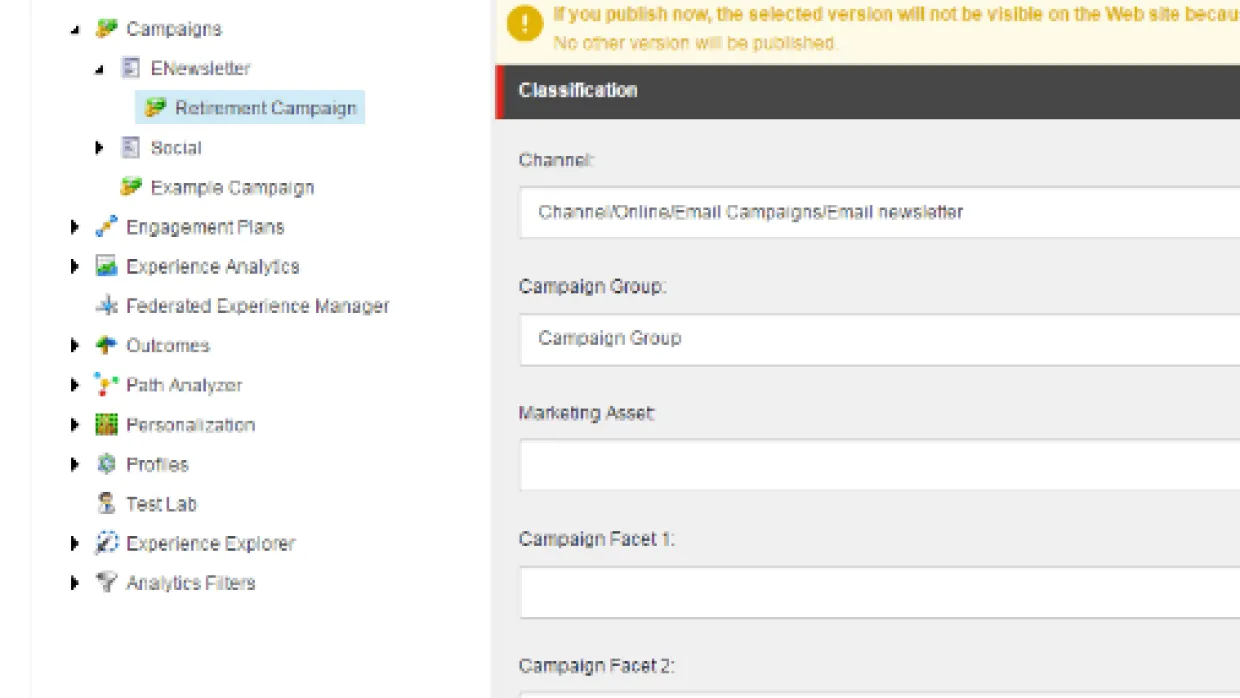
Create the CampaignThis is where you’ll create the specific Campaign. For example, you may have several AdWords campaigns simultaneously in flight. To create, right click on the Campaign Category that you created, insert new Campaign and name it to correlate to your on- or offline Campaign (example: Fall Sale).Fill in the appropriate fields. Not all of these are necessary—we recommend starting with these:
TITLE
VALUE
Channel
Select the appropriate channel from the available dropdowns.
Title
The title of the Campaign should match your on- or offline Campaign.
Campaign Link
This Campaign query string will be used to ensure site visits generated by this campaign are recorded by Analytics and can trigger personalization.
For example: sc_camp=7147FC33D65741B78CF354926779C1AE
Append the query to the link to your website from the inbound source. If the link already includes a query string, prefix the provided text with an ampersand (&). If the link does not include an existing query string, prefix the text with a question mark (?).
Type
A Campaign can either be online or offline.
Enroll in Engagement Plan
Select the engagement plan state you’ll assign to visitors when they participate in this Campaign.
Traffic Type
This is how the Campaign is categorized in Analytics. Example: A visitor might come from an email campaign, which will put them into the Referred - Other category. To ensure that this visit is classified as the Email type, set traffic type as Email.
Deploy the Campaign in WorkflowYou must deploy a Campaign in the workflow before you can associate it with a content item. To deploy a Campaign:In the Marketing Center, select the campaign you want to deploy.On the Review tab in the Workflow group, click Deploy.Associating a Campaign with a Content Item After creating a Campaign in the Marketing Center, you must ensure that the Campaign is triggered in Sitecore Analytics so you can track which Campaigns are driving visitors to your site.To associate a Campaign with a content item:
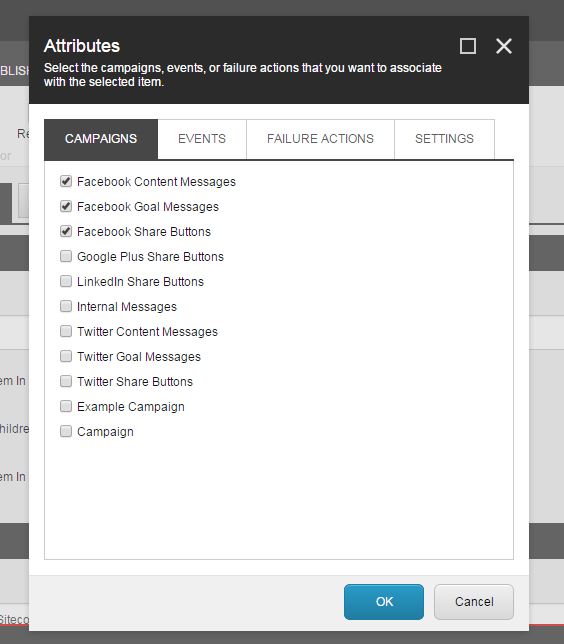
In the Content Editor, expand the content tree and navigate to the content item you want to associate a campaign with.In the Analyze tab, in the Attributes group, click Attributes.In the Attributes dialog (Figure 2), click the Campaigns tab and select the Campaign you wish to associate with the content item.Campaigns can also be assigned at the Standard Values level, if you would like to track all content. For further implementation information, Contact HI.