Sitecore for Developers
The most powerful tool for the Content Authors – Rich Text Editor

The Rich Text Editor (RTE) is the most commonly and widely used tool by the Content Authors. Although most of the icons are intuitive by nature like in MS Word, have you ever wondered what functions do these icons achieve and how is each function different from the other?This article explains the function each of the icon serves.Depending on the kind of access you have, you may or may not see all options listed here.There are 4 different types of RTE in Sitecore – RTE Default, RTE Medium, RTE IDE and RTE Full. Please note all RTEs (shown below) are subsets of the RTE full (image above) [caption id="attachment_2427" align="alignnone" width="391"]
RTE Default[/caption] [caption id="attachment_2440" align="alignnone" width="755"]

RTE Medium[/caption] [caption id="attachment_2441" align="alignnone" width="884"]

RTE IDE[/caption] We shall cover the option of RTE full here.For clarity the functions here are divided under two heads:1 – The functions that work like in MS Word 2 – Other functionsFunctions that work like in MS Word
Icon
Function
What does it achieve!
This function helps print the content inserted in the field. Even if we do not accept the changes and save before print, it will print all of the content entered.
Find and Replace
This functions in the same manner as the Find and replace functionality works in MS Word.
Cut
This function cuts the content and copies it to the clipboard. We can also use the CTRL+X command for this.
Copy
This function copies the content to the clipboard. We can also use the CTRL+C command for this.
Paste
This will paste the content last copied to the clipboard. We can also use the CTRL+V command for this.
Undo
This will undo the last action performed. We can use the key command CTRL+Z
Redo
This will redo the last action undone. We can use the key command CTRL+Y.
Bold, Italics, Underline
These help in formatting the text as bold, italics and underline respectively. Just as the way it is in MS Word.
The Keyboard shortcuts CTRL+B, CTRL+I, CTRL+U will work too respectively.
Alignment
We can align the content to left, centre, right or justify as needed. The last icon helps eliminate any alignment applied to the content selected.
![]()
Ordered and unordered list
These icons help create numbered text or bulleted points within the content respectively.
![]()
Indent and Outdent
These functions help to indent or outdent the content respectively as in MS Word
Strikethrough
This function will cross the selected content out by drawing a line through it.
Subscript and Superscript
This allows us to subscript or superscript the selected content.
Foreground and Background color
Just as the way it works in MS Word, these functions allow us to apply a foreground and background colour to the selected content
Spellchecker
Works in the same way as in MS word, the incorrect spellings get highlighted and the option for correction is also available
Other Functions
Icon
Function
What does it achieve!
Paste from Word
This will paste the content copied from the word including all formatting, styling, links etc.
Paste from Word, strip font
This will paste the content copied from the word including all formatting, styling, links but not the font and font size.
Paste plain text
This will paste the copied content as plain text, losing all its formatting, styling, links etc
See Image 1 for difference between ‘Paste from Word’; ‘Paste from word, strip font’ and “Paste as plain text”
Paste as HTML
This will paste the copied content in the form of HTML.
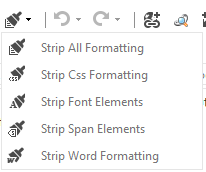
Strip Formatting
As the name suggests, this function helps us get rid of diff type of formatting in the content. There are several options under this :
1) Strip all formatting: This will help us get rid of all type of formatting in the content selected.
2) Strip CSS formatting: This eliminates any class applied to the piece of selected content.
3) Strip Font elements: Helps us get rid of any font related attributes like font type, colour, size etc.
4) Strip Span elements: This will remove any span tags in the selected content
5) Strip word formatting: helps to remove the word related formatting like the mso elements
Insert sitecore link
Helps us to link the content to any of the page or image or a media item in sitecore. Clicking on the icon opens up the dialogue box with the sitecore tree structure and we can select the item we would want to link to the content.
Insert Bucket link
If there are bucket items anywhere on the site and need to be linked to any content, it can be done using this function.
Insert sitecore media
This allows us to insert a sitecore media item in the content. We will have to first upload the media item (image/file) to Media Gallery.
Hyperlink Manager
Hyperlink Manager allows us insert external links and anchor links within the content.
Remove Link
This helps us to remove a link (both external as well as sitecore link) from the content.
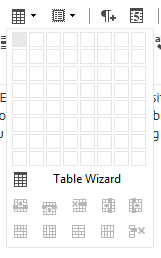
Insert Table
WE can use either the table grid or the table wizard to insert and format the table as we like. We can also set the table properties as required. Video here explains it in detail.
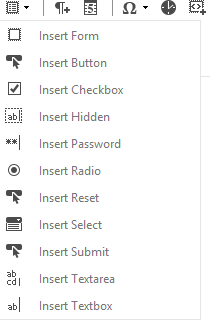
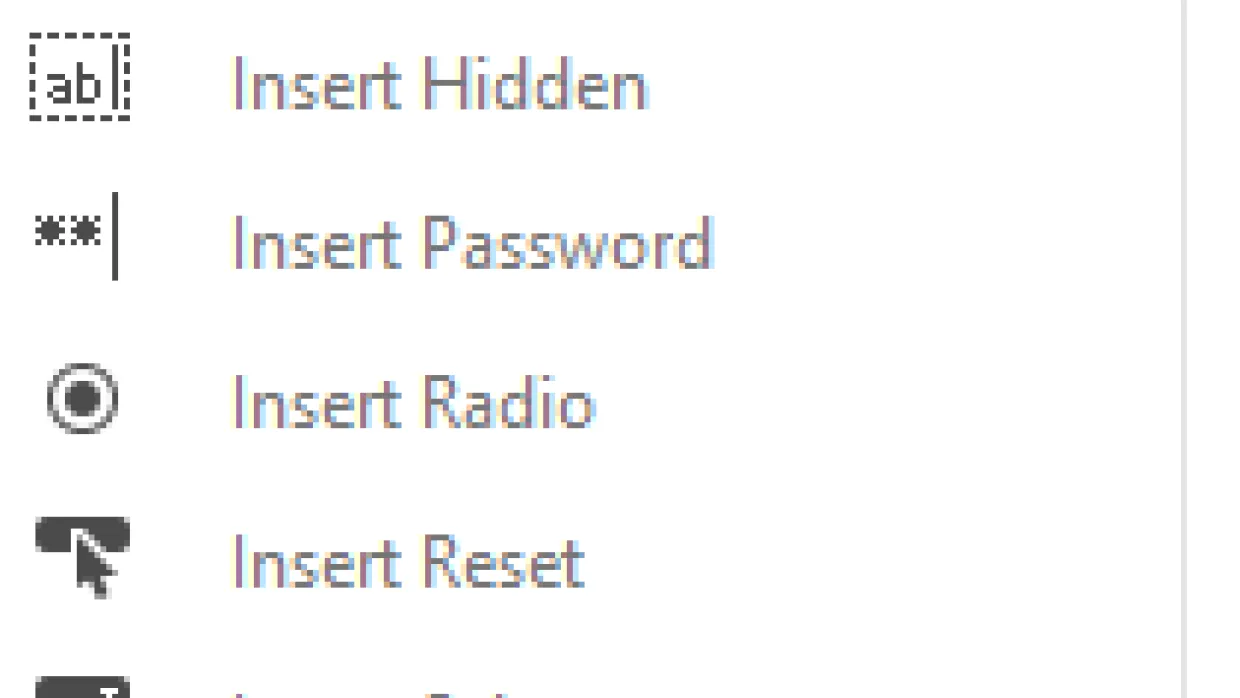
Insert Form Element
This allows us to insert a form elements like a button, checkbox, radio button etc
Insert a Paragraph
Hitting this icon will start a new paragraph in the content
Insert date
This will insert the date in the format mm/dd/yyyy
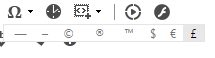
Insert symbol
This helps us to insert a symbol as a part of the content. We can insert symbols like — – © ® ™ $ € £. If we want more symbols in options, the developer should be easily able to do it for us.
Insert time
This will insert the time in the format it is set on the system.
Insert Code Snippet
This helps us to insert a predefined HTML code snippet into the content. When we are supposed to write the content for different pages that looks the same in terms of layout but is different only with the text (Different product pages for example), we should consider adding a predefined HTML snippet.
The HTML code snippet can easily be defined by the developer in Core database at /sitecore/system/Settings/Html Editor Profiles/Rich Text Full/Snippets
For example: Inserting the predefined Ordered list snippet helped me to insert numbered bullets as shown in Image 2.
Media Manager
Allows you to manage the Media library. We can upload, delete or rename Media items there as needed
Flash Manager
Helps you to manage the Flash files in Media library.
Horizontal rule
This function will insert a horizontal line across the content.
Select all
Will select all of the content in the RTE. We can also use CTRL+A on keyboard to achieve this
Set absolute position
This function allows us to set the position of an element to absolute. A point to note here is this works only in IE.
Show/Hide border
This function helps to unhide or hide the borders of the table
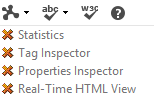
Module Manager
Module Manager - Activates /Deactivates modules from a drop-down list of available modules.
Statistics: activating this module will show showing the Words and Character count at the right bottom of the RTE. See Image 3
Tag Inspector: activating this is will display the html tag of the content selected or where the cursor sits as shown in Image 4
Properties inspector: AS the name suggests, activating this module will display in the bottom of RTE the properties of the selected media item. See Image 5
Real-time HTML view: Activating this will display the html part for the entire content at the bottom of the RTE. See Image 6
XHTML Validator
Validates the html code for the content in the RTE and throws the results (pass/fail) along with the list of errors found
Help
Has the list of all the functions on the RTE and a brief description of it.
[caption id="attachment_2549" align="alignnone" width="359"]
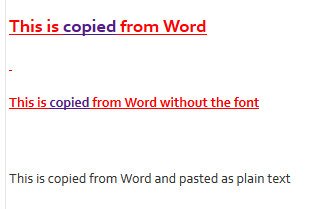
Image 1: Difference between output from “Paste from word”; “Paste from word, strip font" and "Paste as plain text"[/caption] [caption id="attachment_2552" align="alignnone" width="1008"]

Image 2: Inserting predefined html code snippet for ol li[/caption] [caption id="attachment_2555" align="alignnone" width="1198"]

Image 3: Statistics showing word count and character count[/caption] [caption id="attachment_2557" align="alignnone" width="1200"]
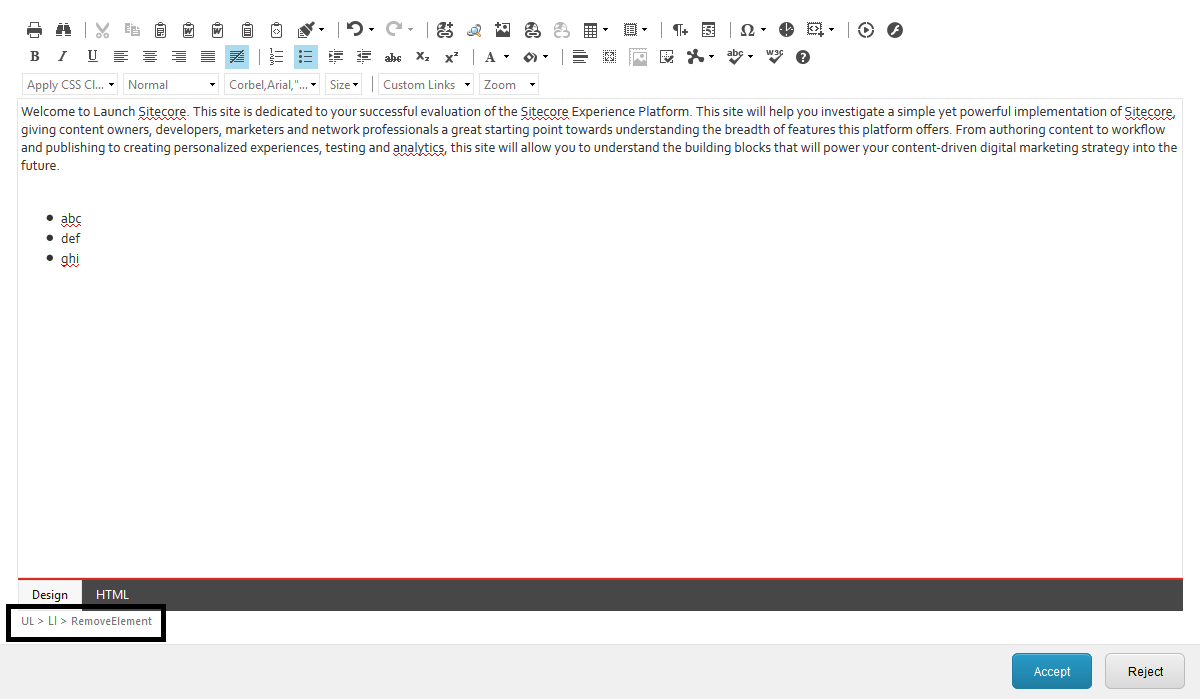
Image 4: Tag Inspector[/caption] [caption id="attachment_2565" align="alignnone" width="1200"]
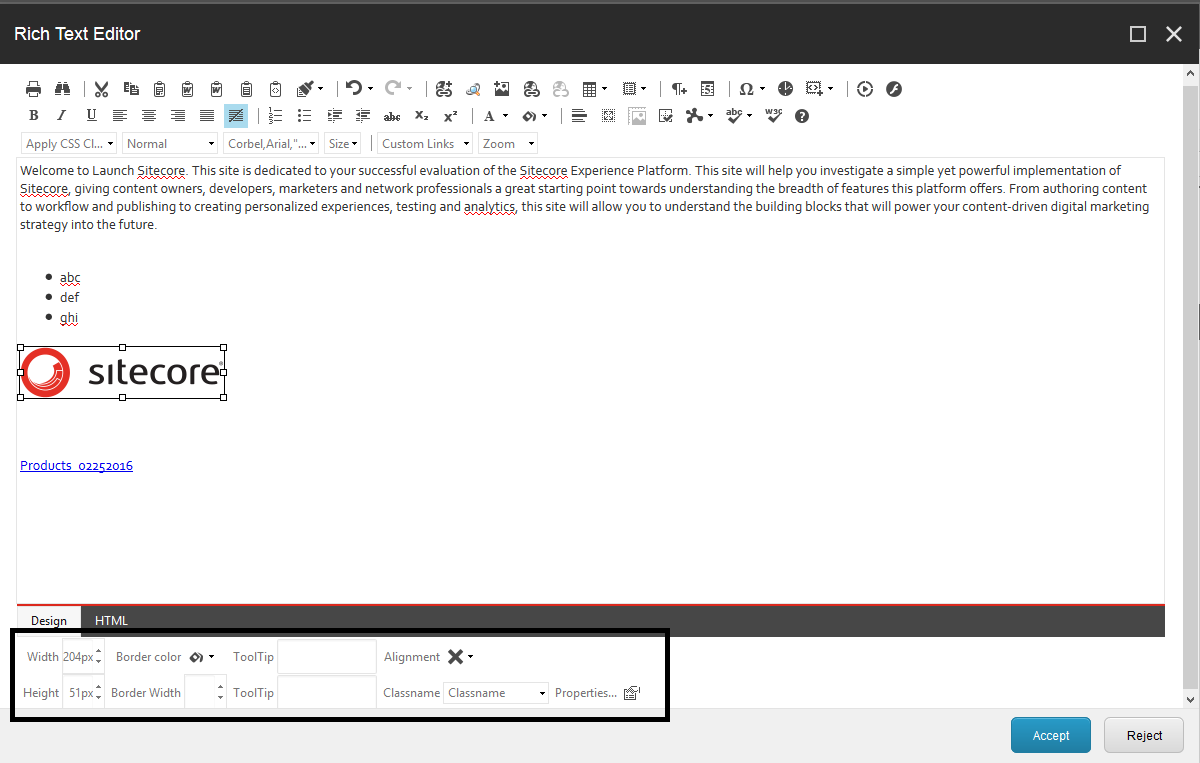
Image 5: Properties Inspector[/caption] [caption id="attachment_2568" align="alignnone" width="1202"]
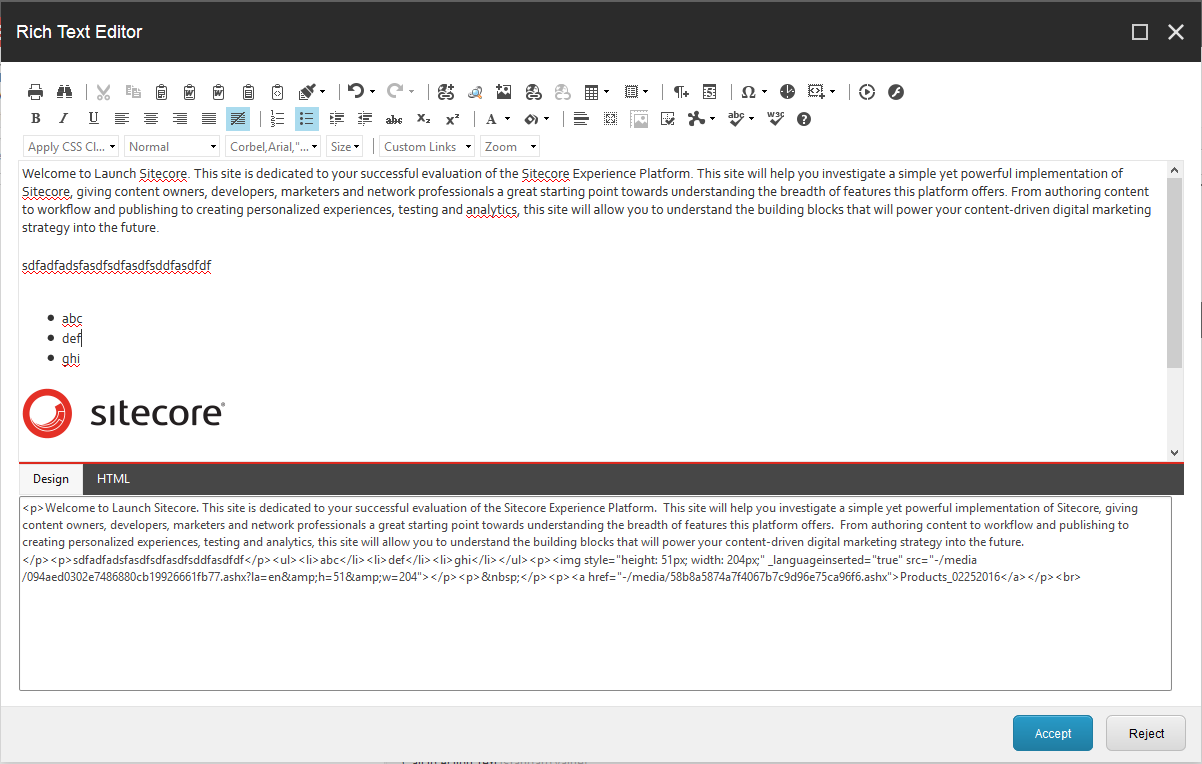
Image 6: Real-time html view[/caption] Rich Text Editor is, thus, an amazing tool for the content authors. However, one of the most common mistakes we make is skipping the html view completely while working on the design mode in the RTE. A look at and a generic understanding of html mode is highly recommended too.A simple tutorial to understanding html can only put us in better position.Happy Learning!